


A beginner’s guide to analogue photography
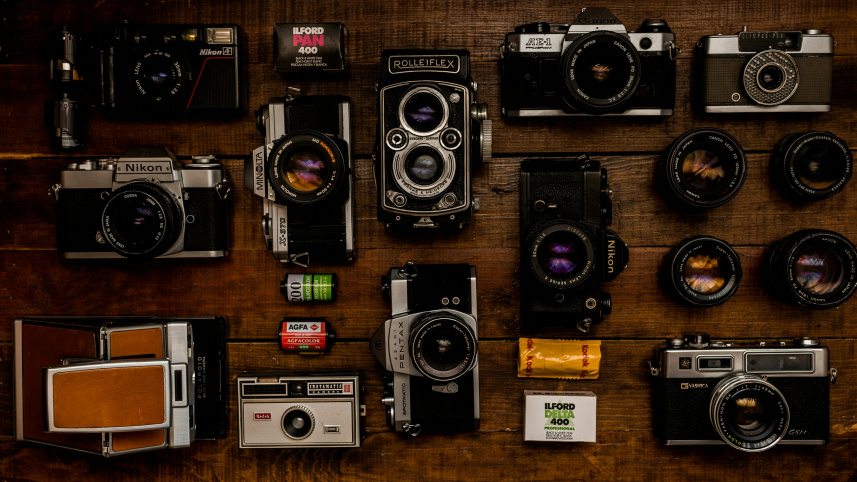
After years of adding grain and light leaks to digital photographs, picking up a film camera might feel like the natural next step. But the appeal of analogue photography goes beyond recreating a look. There is pleasure in slowing down, finding the right angle, and making a photograph without immediately checking the result.
Getting started need not be intimidating. Before choosing a camera and loading your first roll, it helps to understand a few basic terms—and decide how much control you want over the process.

Understanding the basics
Film photography does not necessarily mean doing everything manually. The controls available depend on the camera, but three terms are worth understanding from the outset: shutter speed, aperture, and ISO.
Shutter speed
Shutter speed determines how long the film is exposed to light. Faster speeds help freeze movement, while slower speeds can produce motion blur. A slower shutter speed also lets in more light; a faster one lets in less, provided the aperture remains unchanged.
Aperture
Aperture is the opening in the lens through which light enters the camera. Its size is expressed as an f-number: a lower number means a wider opening and more light, while a higher number means a smaller opening and less light.
Aperture also affects depth of field, or how much of a scene appears sharp. With other factors unchanged, a wider aperture produces a shallower depth of field, helping separate a subject from a blurred background. The visual quality of the out-of-focus areas is known as “bokeh”.
ISO
ISO indicates a film’s sensitivity to light and is usually printed on its packaging. Higher-ISO films generally suit lower-light conditions, while lower-ISO films need more light. Unlike changing the ISO setting on a digital camera, turning a film camera’s ISO dial does not change the film itself.
You can, however, expose film at a different rating and adjust its development accordingly. This is where “pushing” and “pulling” come in. For example, exposing ISO 200 film as though it were ISO 400, then requesting the corresponding development adjustment, is a one-stop push. Rating it at ISO 800 is a two-stop push. Pulling works in the opposite direction, using a lower rating. Each stop represents a doubling or halving of the rating.
These techniques can change the appearance of your photographs, including their contrast and grain. Discuss any push or pull with your processing lab, and normally keep the chosen rating consistent throughout the roll. For your first few rolls, sticking to the speed printed on the box is the simpler approach.
Choosing a camera
Three common options are point-and-shoot cameras, rangefinders, and single-lens reflex cameras, usually called SLRs.
Point-and-shoot cameras
Point-and-shoots are designed for speed and convenience. Many automate focusing, exposure, film advance, and rewinding, although features vary between models. Simpler cameras may have fixed focus and require you to advance the film manually. The attraction is straightforward: you can concentrate on framing the photograph rather than adjusting several settings.
Rangefinder cameras
Rangefinders use an optical focusing system that helps you judge the distance to your subject. On a typical coupled rangefinder, you turn the focusing ring until two overlapping images in the viewfinder line up. This indicates that the subject is in focus.
These cameras are not defined by a particular automatic exposure mode, and they do not all have fixed lenses: some accept interchangeable lenses. Their defining feature is the rangefinder focusing system.
SLR cameras
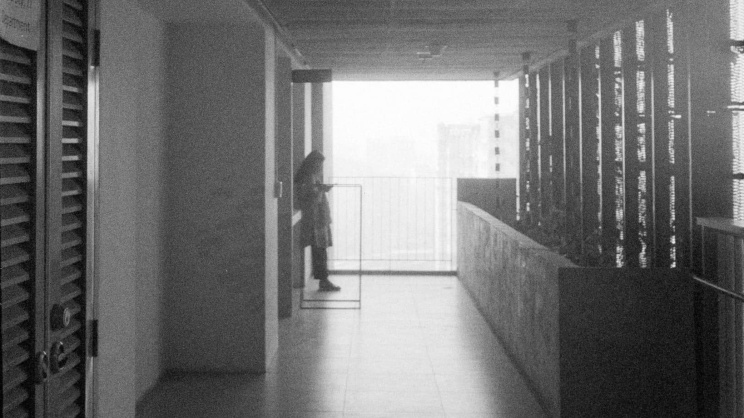
An SLR uses a mirror to let you view the scene through the lens that takes the photograph. Most accept interchangeable lenses, giving you flexibility over how you frame a scene. Depending on the model, focusing and exposure may be manual, automatic, or a combination of both. Before buying a lens, check its compatibility with the specific camera rather than assuming that lenses from the same brand will work.
Buying your first camera
A rangefinder is one option for a first film camera, but there is no single right choice for every beginner. More important than the category is finding a camera that works properly and feels comfortable to use.
The Yashica Electro 35 is one rangefinder to consider. The Minolta X-300, an SLR rather than a rangefinder, offers another route into film photography, with both aperture-priority automatic exposure and manual exposure controls.
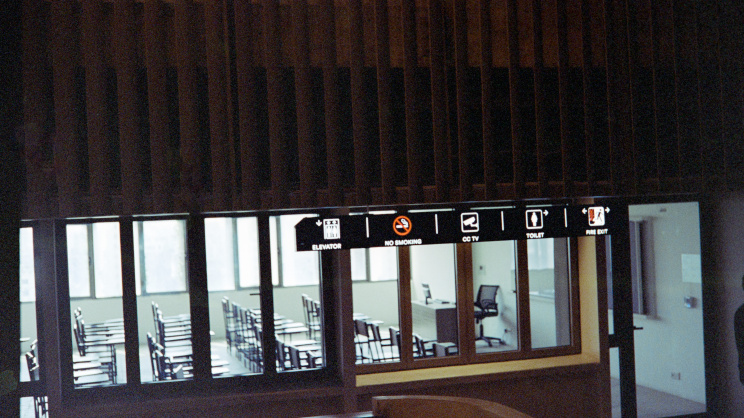
For those who prefer a point-and-shoot, options include the Olympus mju series and Canon autofocus compacts. Research the individual model before buying: a familiar name alone is not enough to judge a particular camera.
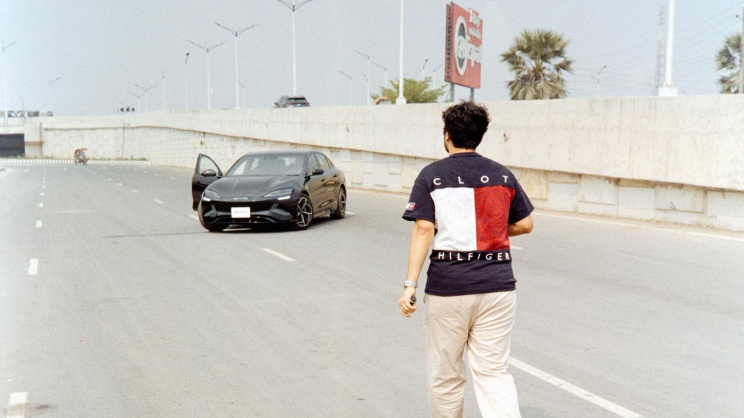
When buying older equipment, avoid a camera that needs repairs you cannot easily arrange or afford. Ask whether it has been tested with film, examine its condition, and find out what happens if it develops a fault. A camera that looks clean is not necessarily one that works correctly.
There is also no obligation to buy immediately. Before searching the second-hand market, ask whether someone in your family has an old camera you could borrow. It may be enough to help you decide whether film photography is for you.
Choosing your film
Film gives analogue photography much of its character. Different stocks produce different combinations of grain, contrast, and colour, so choosing a roll is part of the creative process. Your first decision may simply be whether to work in colour or black and white. Neither is inherently better; the choice depends on the photographs you want to make.
 For all latest news, follow The Daily Star's Google News channel.
 ISO 400 is a useful starting point for a first roll. Kodak UltraMax 400 is an option for colour photography, while Ilford HP5 Plus is a versatile black-and-white choice. Both are intended for varied shooting conditions, and HP5 Plus offers considerable tolerance for exposure variation.
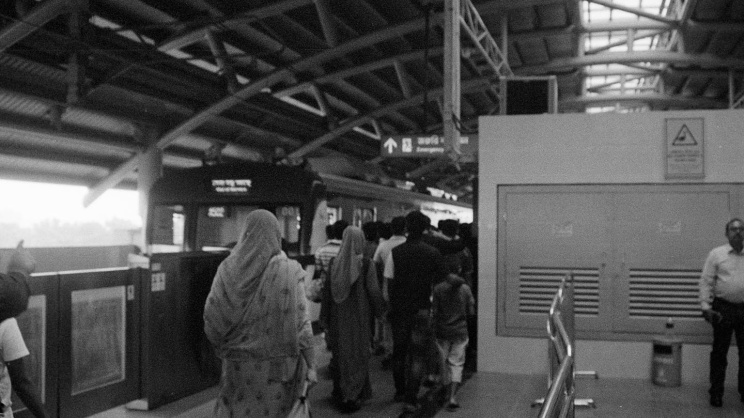
ISO 400 is not, however, a guarantee of good results at night. Depending on the available light and your lens, you may still need a flash, a wider aperture, or a slower shutter speed with the camera supported on a tripod. Choose your settings for the conditions rather than relying on the film speed alone.
Before buying a roll, check that it is the correct format for your camera and that your chosen lab can process it. Colour negative film and conventional black-and-white film require different processing, so include development—and scanning or printing—in your budget.
Once you are comfortable with the basics, try different stocks and speeds. There is no need to work through every option at once. Getting to know one film can be more useful than changing it after every roll.
Enjoy the process
Pick up the camera and take it outside. Learn enough to get started, but do not let the search for the perfect equipment or settings take the enjoyment out of making photographs.
Enjoy the sound of the shutter, the care that goes into choosing an angle, and the pause before pressing the button. There is satisfaction in making one considered photograph rather than taking 20 and choosing a favourite later.
Whether you found your camera among your family’s belongings or bought it second-hand, the aim is not to make every frame perfect. It is to make photographs you will want to keep.
Comments